
Last week we discussed planning out your feed, so today I am going to teach you how to plan your pictures! I know that you had to come up with some ideas last week for the overall aesthetic of your feed, but each individual picture deserves some TLC to make it the best possible picture.
Read the whole series to upgrade and maintain your Instagram feed by clicking on the different links below!
Plan
Now that you know what your feed is going to look like, you can plan your locations to take pictures. I take a lot of my pictures outside (because I have terrible natural light opportunities in my apartment) so I scope out locations, take some pictures from different angles ahead of when I plan to actually go to my location, and try out different edits as well.You have to think like a photographer - even though I definitely don't have any experience being a photographer. The pictures below show the process of me figuring out what locations I wanted to do my most recent Instagram pictures from while I was driving along the coast of Lake Erie.
It took me about three hours to take what would become 10 photos for Instagram. I drove for about 45 minutes to a few different locations, then did the "loop" again to hit the places I thought would work for my photo shoot. After that I set up different options for every book, took multiple photos, and then went to the next location to do the same.
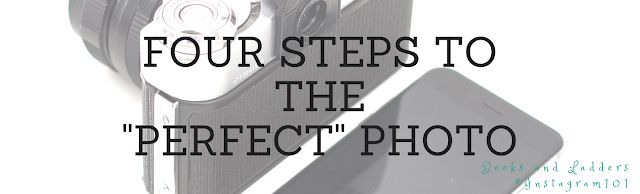
Photograph
Taking the actual picture is probably the hardest part. I have about 1000 photos on my phone right now of potential Instagram posts (I should probably edit them [see next step]) and I will only use about 20 of them.The biggest myth in Instagram is that you need a special camera to be able to have a successful feed but that's not true at all. Prior to upgrading to the iPhone 8+ (which has the portrait feature allowing me to have some nice photos without the same amount of editing as before), I had a Samsung Galaxy S6 Edge+ and while the camera was nice, it wasn't the best. But there are so many tools to edit that you don't necessarily need the newest, best, or most expensive piece of equipment to be able to have amazing Instagram photos.
If you set up the photo properly and take your time with the photo, you don't need to spend thousands of dollars on a home studio for an Instagram feed. Angles are your best friend.
Edit
For me, the most important part to editing your photo for a good feed is to edit all your photos the same way. Find a good brightness, contrast, saturation, hue, etc. that work for all your photos and use that. It will have all your photos to look the same even if you have different backgrounds or angles used. People will know they are your photos without having to look at the username.Additionally, watermarking your photos is important. Make sure you either stick to your brand font or one that is similar so that people can recognize your name/logo/whatever in the picture and know it's yours - even if it gets reposted to another feed! I watermark all the photos that don't have my face in them.
Filter
In addition to using the same edits on your photos, you should also use the same Instagram filters. It keeps your feed looking the same and gives you a "theme" to it as well. I personally use "Juno" for all of my pictures but choose whichever one fits your feed the best. Your edits and filters become your personal brand on Instagram - because you will change your theme all the time depending on the locations you take your pictures and the type of photos you are taking.App to Help You Be Successful
InstaSizeInstasize easily makes your photos look amazing with premium filters, tools and layouts. It allows you to add watermarks, make your full size photos into the "square" Instagram size, and so much more! There is a free and paid version to this app - I use the free version.
Next time...I tell you what and when to post on Instagram!


No comments:
Post a Comment
Thanks for commenting! I cherish each and every comment. If you leave me a link to your blog, I will do my best to comment back!